
DIY Cosplay Prop Guide and Tips
0 comments
Congratulations on your purchase of one of our awesome Cosplay Prop Kits! Whether this is your first step into the wonderful world of cosplay or you are a seasoned cosplay veteran, this guide is a list of the basic fundamentals to help assemble and prep your cosplay prop for painting. Our DIY Cosplay Prop Kits help unlock your inner creativity and let you celebrate your fandom IRL.
A full list of our Cosplay Props can be found HERE!
Step 1: Remove Your Supports
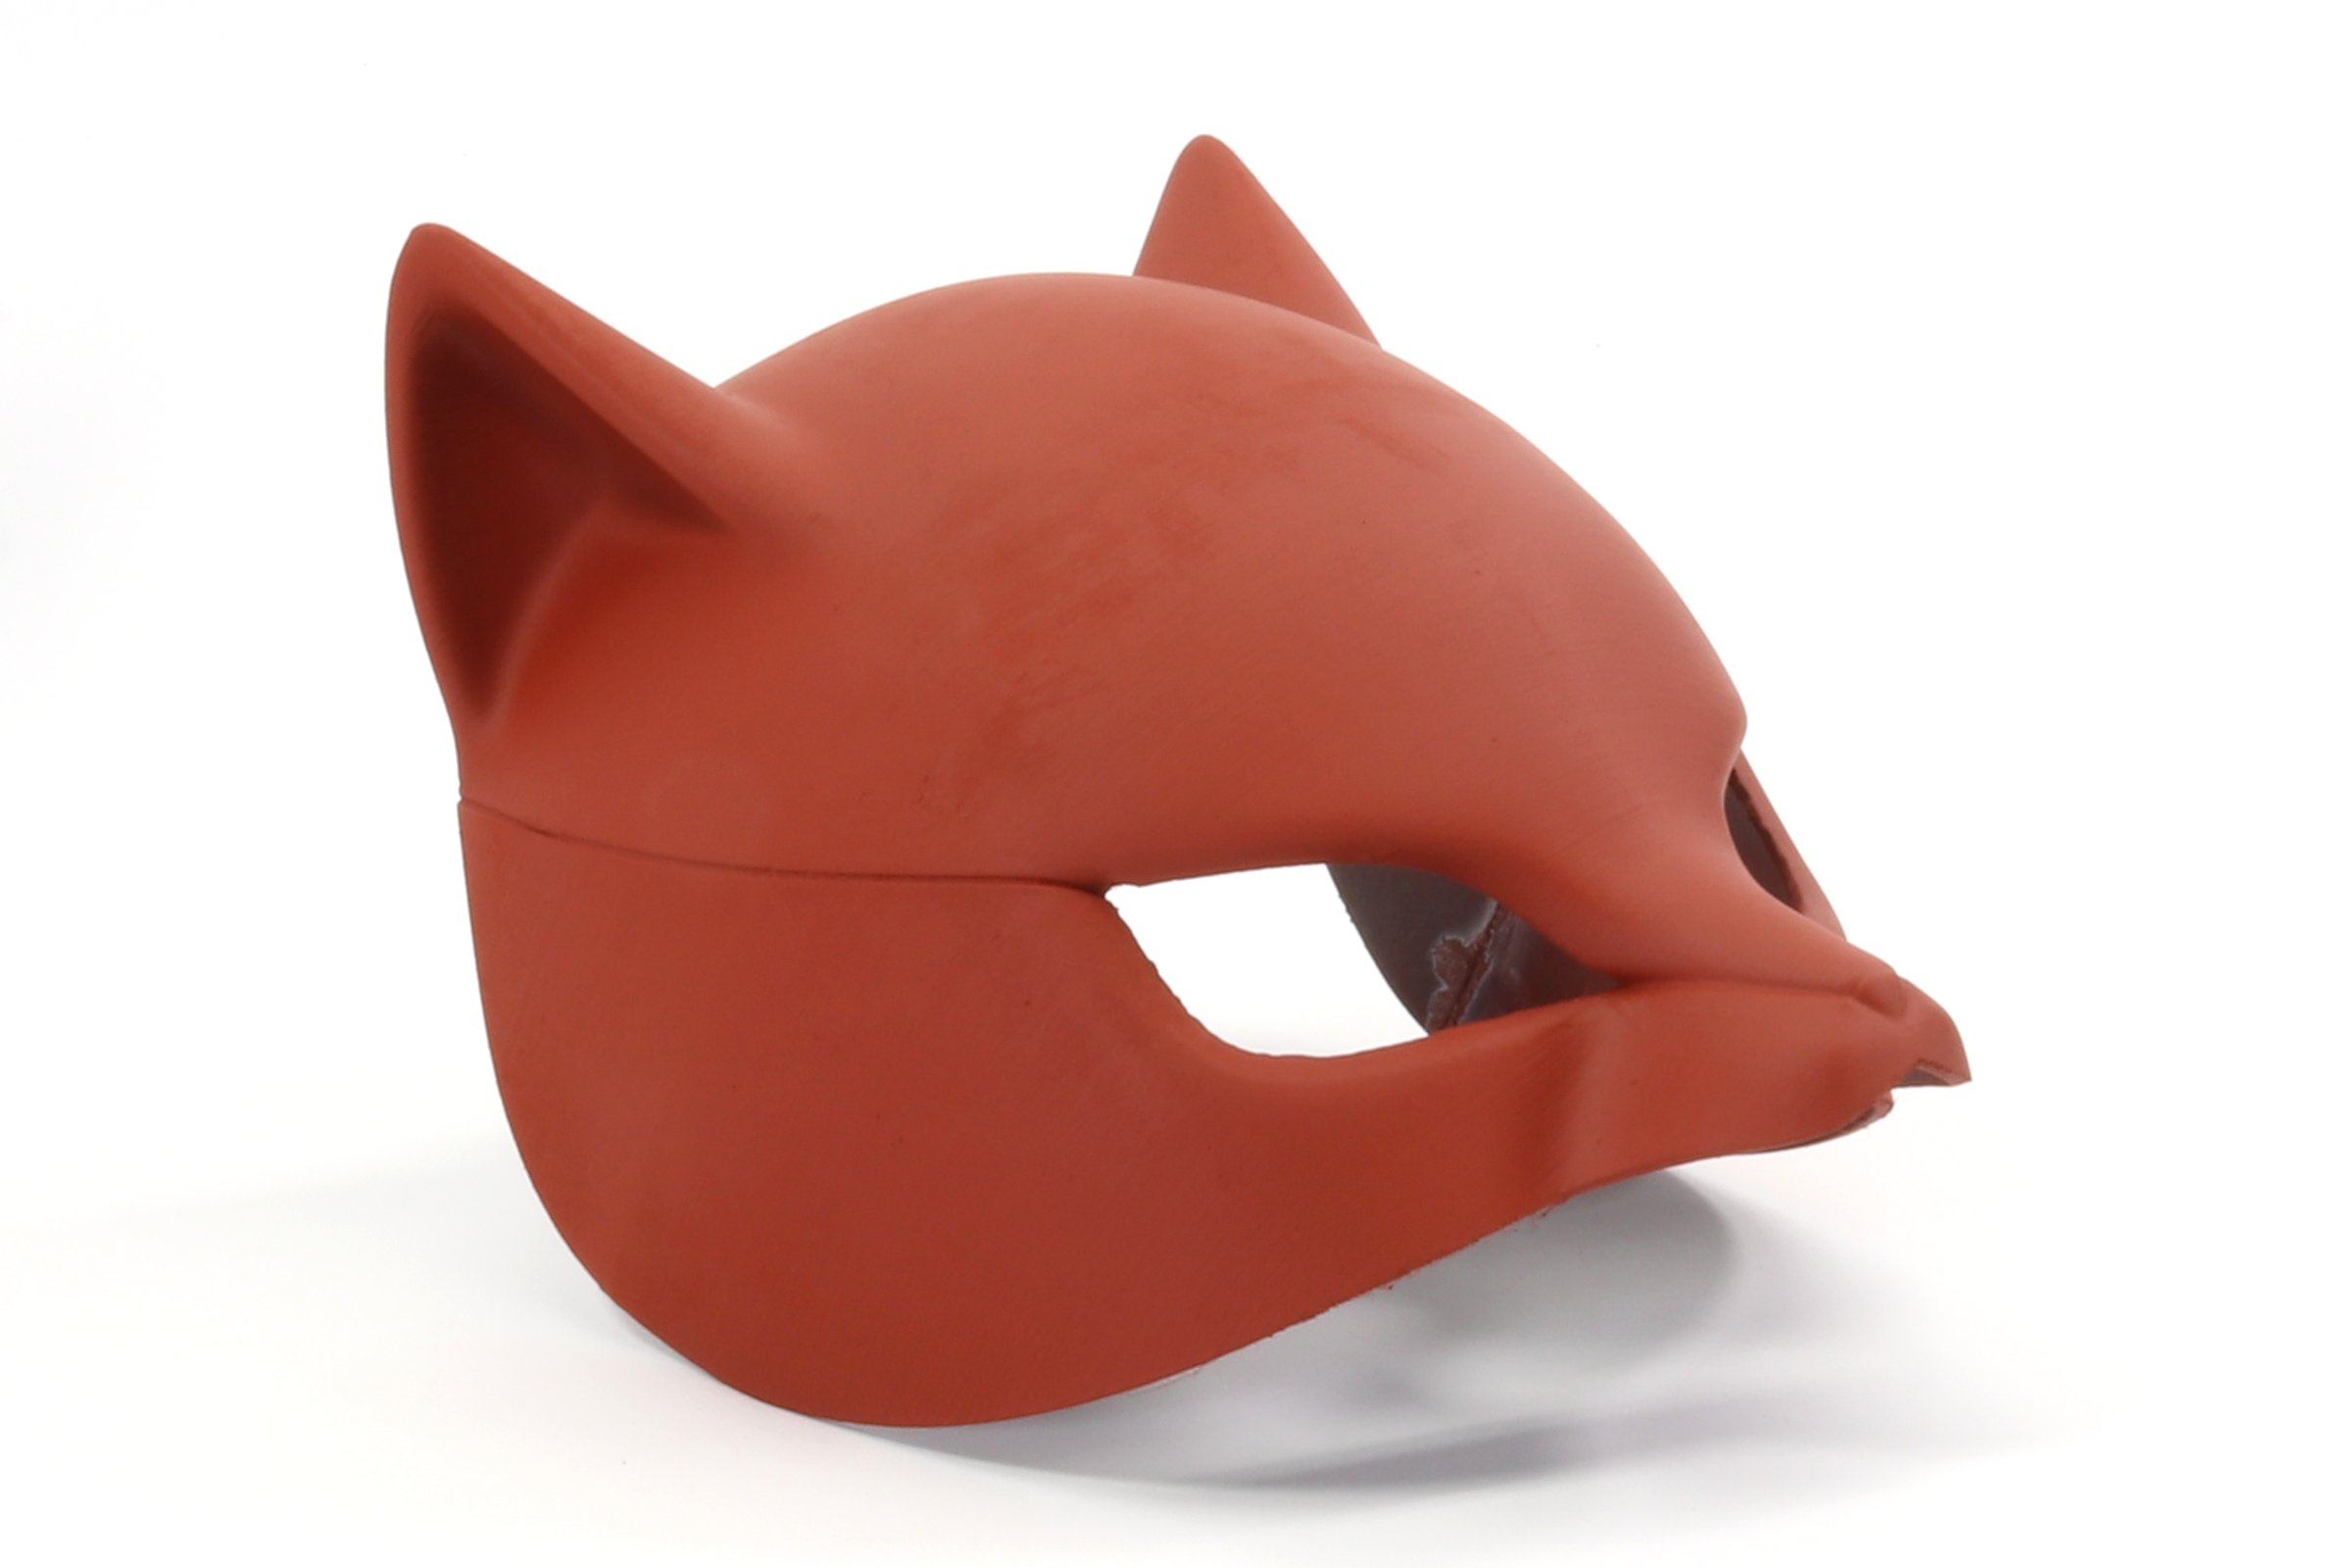
Your prop will be shipped fresh off the printer, and some (not all) will include some support material, which will be to be removed. We set up all our prints to use the least amount of support possible to maximize the ease of finishing. Support material will look as shown in the photo below!

Using tools of your choice (such as scalpels, X-Acto knives, metal pokers, and sandpaper), carefully remove the supports. Most supports should come off the prop very easily using a scraper or butter knife to lever them off. Some snapping of support may occur but don't be alarmed! If you want to cut them away, try to slice between the support and the surface of the prop, then cut away from yourself. Residual support material may remain stuck to the prop - you can sand or cut these pieces off very easily. Feel free to use any tool or process that works for you, any mistakes to the surface can be touched up later.

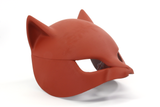
After support removal, the piece should look something like the image below. The surface may be a bit uneven but we will be taking care of this later.

Step 2: Glue, Glue, and More Glue
The next step will be to glue together and assemble your pieces. Any number of adhesives will work, including two-part epoxies found at hardware stores, hot glue, super glue, and heat welding (for the experienced user). Our favorite method is to use a fast set super glue and two-part epoxy like T-88 in conjunction with one another. Working joint by joint and allowing the epoxy time to set up is the safest method, especially with long and thin sections.
Using the two-part epoxy, mix up a sufficient amount to lay down a very thin layer on your prop's surface (FUN TIP: T-88 can be heated gently with a hair dryer to make it more runny and easy to work with).
IMPORTANT: LEAVE 1.5CM SECTIONS UNCOATED AT THE EDGE AND EVERY FEW INCHES. In those uncoated sections, we will be applying some superglue to hold the pieces together while the epoxy cures, leaving a super strong joint. This an be skipped if you prefer to clamp your joints together using wood clamps.
Going slowly and working from one edge to another, make sure you line the joints edges up and hold while the super glue sets up. At which point you are able to let go, leaving the epoxy to harden for 24 hours.

With more skill, you can assemble multiple joints at a time. Just make sure the piece feels strong before applying any weight or holding it aloft.
Step 3: Fill In Those Gaps, and Sand Those Flats!
While 3D printing is amazing, and most things come off the printer close to perfect, the perfectionist may wish for a perfectly smooth and hyper-realistic prop. In order to reach a high level of quality, we are going to need to use some filler agents and do a tad bit of sanding to get some of the tiny joints and small imperfections truly smoothed out!
Our preferred product is Evercoat, as it has yielded the smoothest finish in all our tests and personal prop work, but be aware that it does require wearing a respirator. Any bonding and filling agent should work but always test a small section for adhesion to the prop before using it all over.

We recommend circling any spots we may want to fill in on the piece prior to starting so we don't miss anything, use a sharpie and mark any points on the prop you may want to work on. Then mix your filling agent according to the package instructions, then use a latex or nitrile glove and your fingers to carefully smooth the filler into the points you wish to touch up. Avoid getting this on your skin and make sure to wear your respirator!
Feel free to build up a bit more material than needed since we will be immediately sanding these areas down.
After the filler sets and hardens, you can go back with sandpaper and smooth the areas flush as well as sand down the entire surface of your entire prop.
FUN TIP: During sanding, try using cold water mixed with dish soap to create a cool and wet sanding surface. This makes the prop much easier to work with!
You can add more layers here and sand to your hearts desire to reach exactly your desired surface finish! As you sand move from 240 grit up to 1200 grit going up around 300-400 grit at a time. Sanding sticks will be useful to get in cracks and small details.

In between sandings, you can apply Duplicolor Filler Primer to help reveal rough areas and fill in tiny imperfections. The more time you spend here the better the finished piece!

Step 4: Prime Time Baby!
Give the sanded part one final coat of filler primer (again we prefer the Duplicolor Filler Primer here). Make sure to let this dry entirely and work in one solid coat layer unlike normal spray paint.

Step 5: Paint It Up!
At this point, the prop is ready for you to paint. The nicer the spray paint you use, the better for the final look. You get what you pay for when it comes to cosplay! A few painting techniques to look into are stippling, dry brushing, color mixing, and just general tips on using spray paint.
FUN TIP: Spray paint dries better and faster in hotter drier environments so plan to paint on a sunny day!
Remember to keep your prop out of a hot car and it will be a treasure to remember and use forever. All the steps above can be used to fill in and touch up any incurred damage to your prop from wear and tear.
From all of us here are Loot Cave Co - HAPPY COSPLAYING!
*Disclaimer* All recommendations and guides here are for individuals with some training in handling sharp objects and using strong adhesives. Our guide is for use at your own discretion and risk and any injury or damage that occurs is at no fault to Loot Cave Co.

0 comments